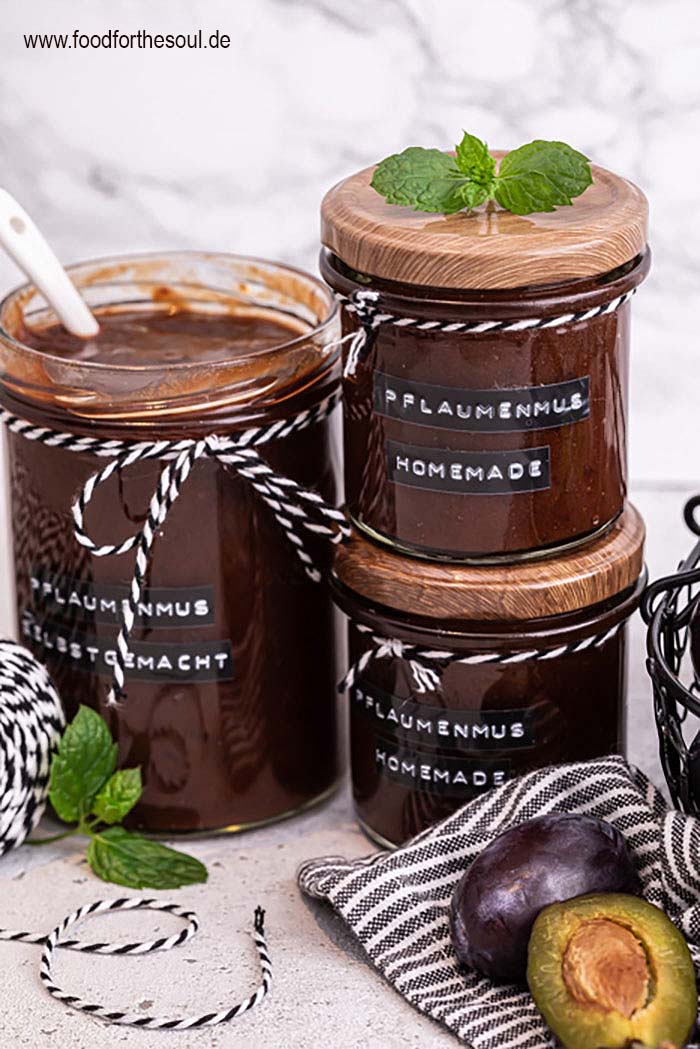
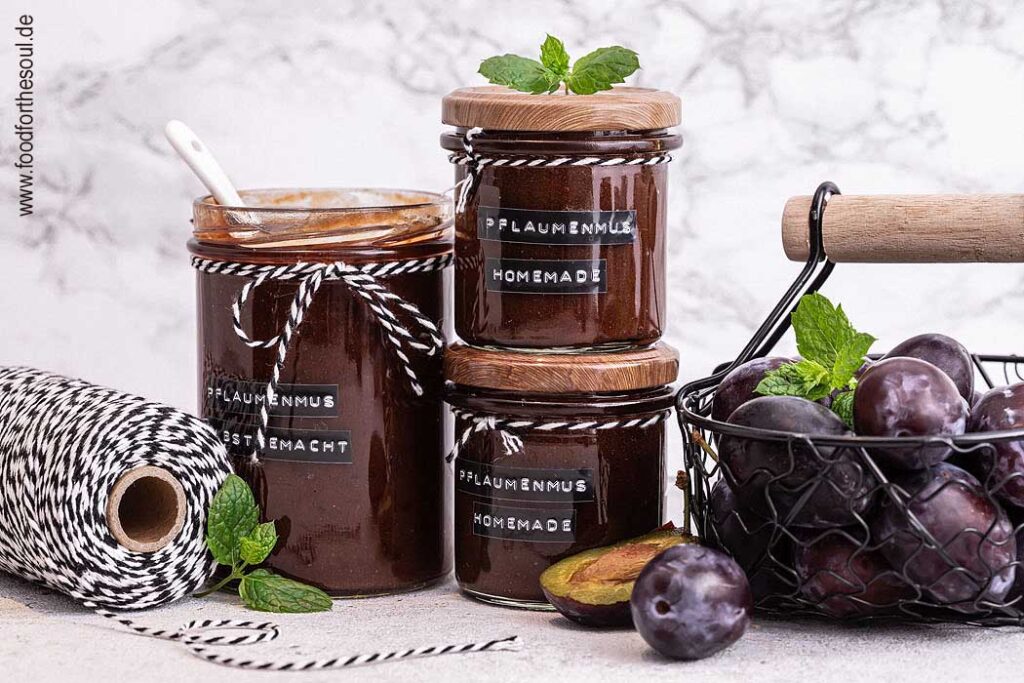
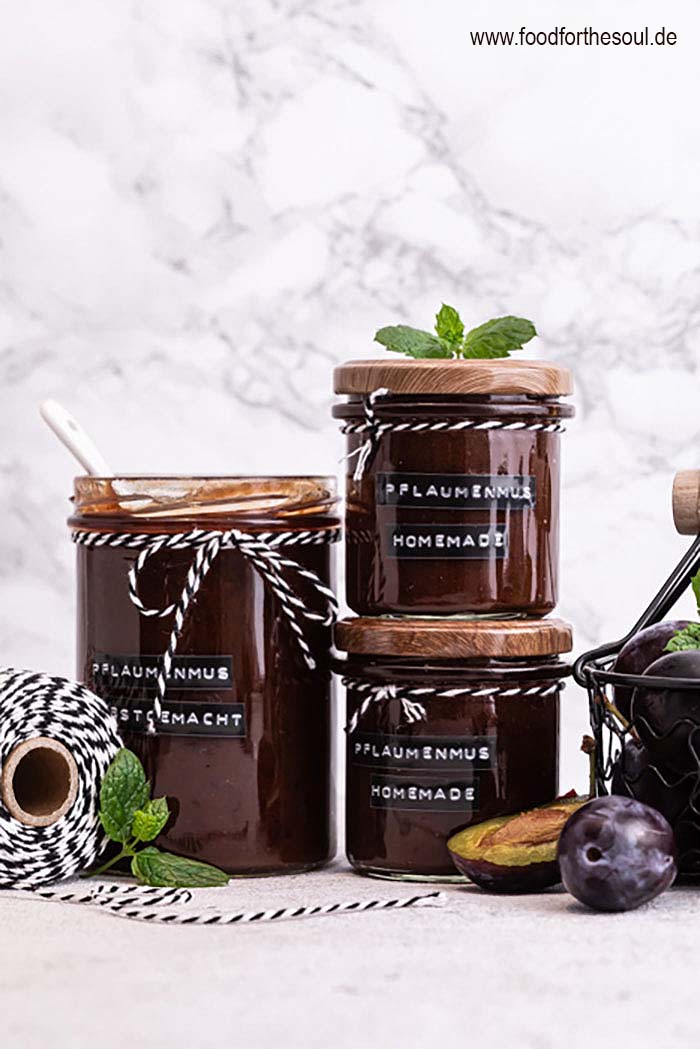
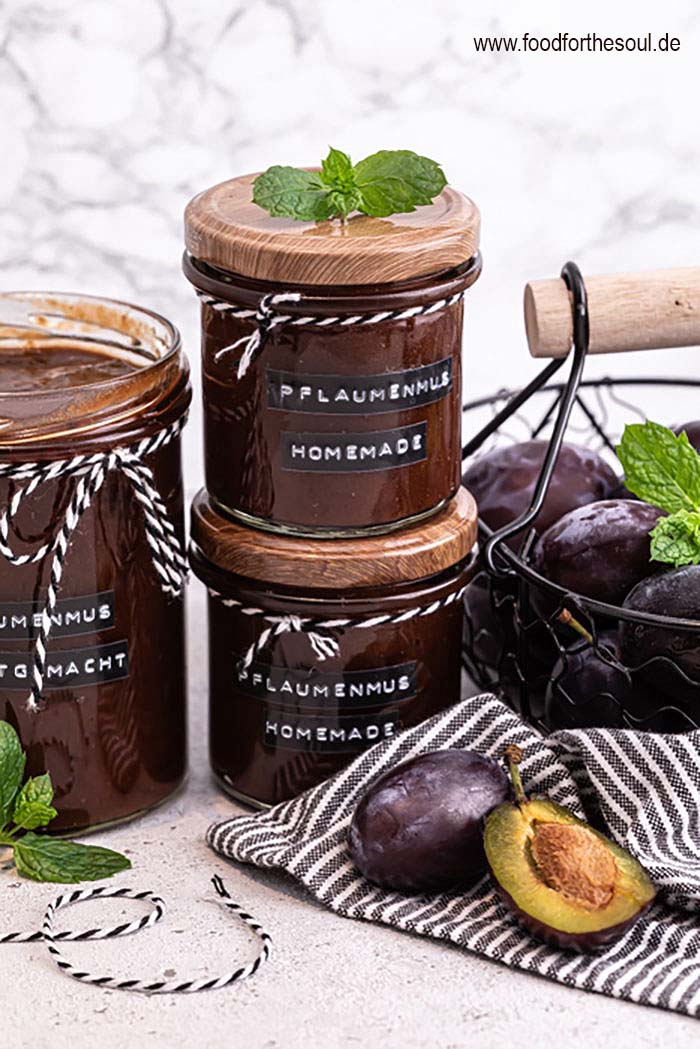
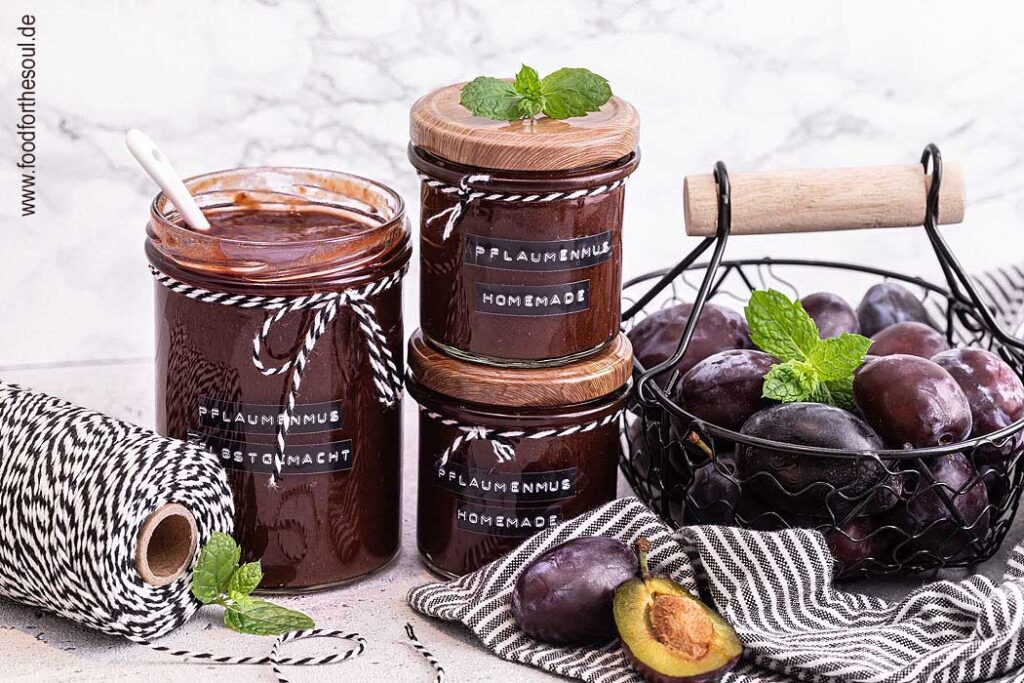
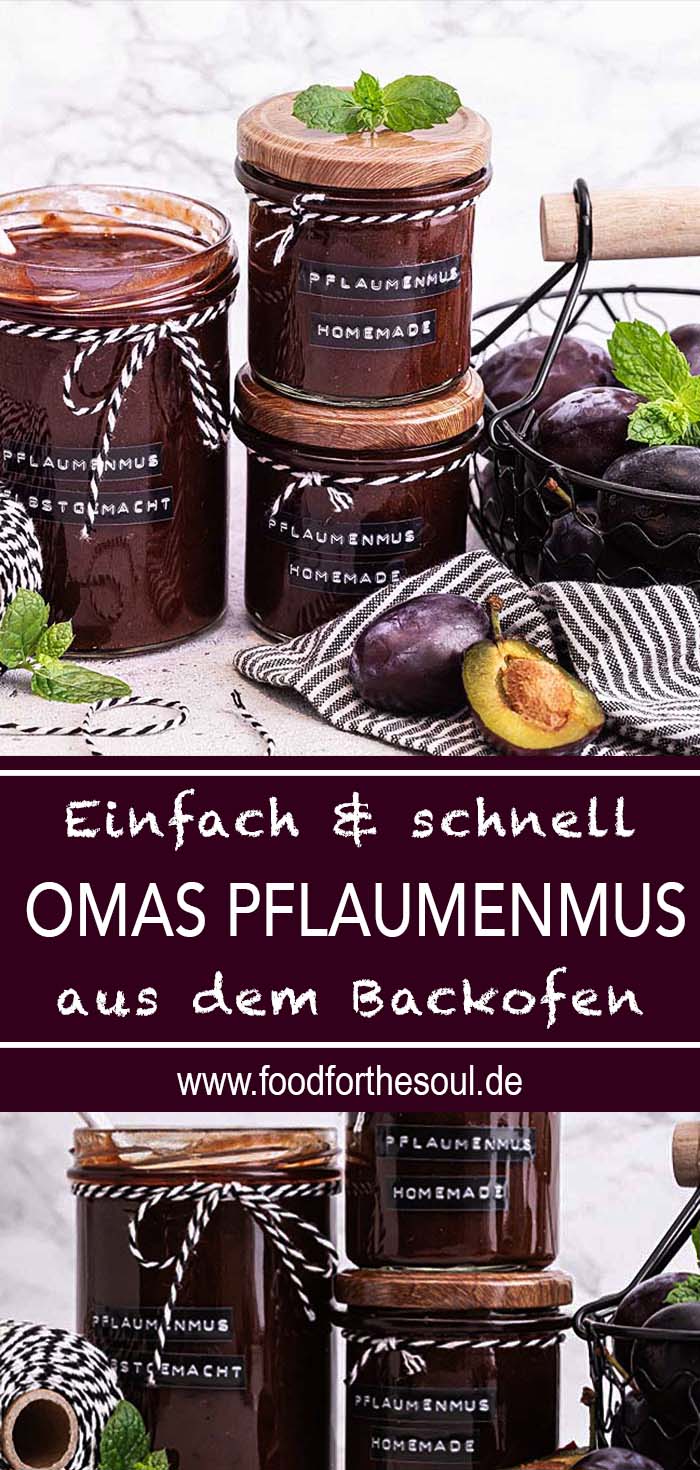
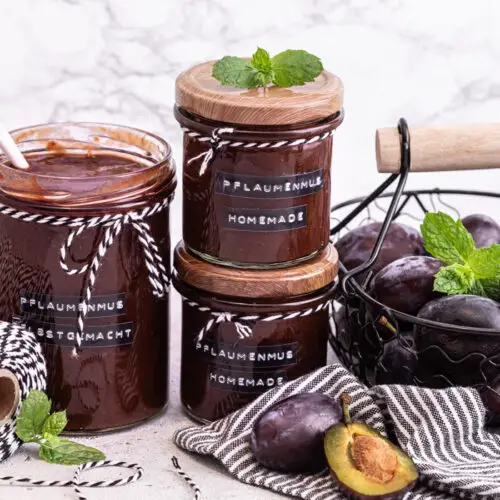
Grandma’s plum jam recipe from the oven is a real classic – fruity, spicy, full of flavor and without pectin! The best: you only need a few ingredients, no great effort and the whole kitchen smells like late summer and childhood.
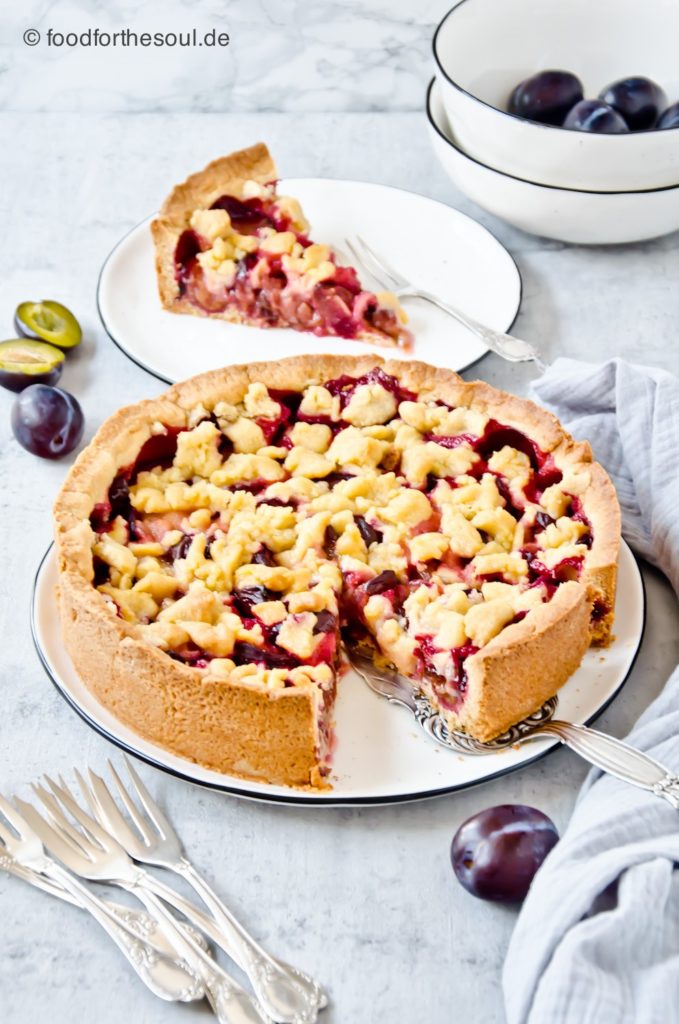
With this simple recipe, you can make plum jam without constantly stirring – and it tastes just like grandma used to make. Do you have plenty of plums? Why don’t you bake my German Plum Cake with Crumble?
What is plum jam – and why from the oven?
Plum jam – or Zwetschgenmus, as it is mainly known in southern German regions – is one of those recipes that immediately brings back childhood memories. Austrians know it as Powidl and in Switzerland it is called Latwerge.
It is thicker and more aromatic than jam or marmalade and, just like my homemade apple sauce, does not need any gelling agents. The sugar and the long baking time ensure that it thickens by itself.
Why making plum jam in the oven? It’s simple: you don’t need a big pot, you don’t have to stir constantly and the result of the plum jam from the oven is wonderfully velvety, deep dark and intense in flavor. The oven does the work – and you can sit back and relax (or preserve other supplies).
Which plums are suitable – tips for choosing
Fully ripe plums are best. They are slightly smaller, have firm flesh and an intense aroma – ideal for puree. The important thing is that they should be really ripe, juicy and sweet. Then you need less sugar and the flavor is simply better.
Tip: If you’re at the weekly market, ask for old varieties – they often taste particularly aromatic and are perfect for plum jam.
On health.com you can read about the benefits of eating plums. What you get is reliable information about nutrients of plums and how they can support your health.
Ingredients for grandma’s plum jam recipe
You only need a few ingredients to make classic granny-style plum jam:
- Ripe plums – The riper the fruit, the more aromatic the purée will be. They are ideal because they contain less water and thicken perfectly.
- Sugar – The sugar not only provides the right sweetness, but also preserves the puree. You can adjust the amount according to taste and fruit sweetness.
- Ground cinnamon – Cinnamon adds a warm spice to the puree and rounds off the flavor perfectly – a real classic for plum puree just like grandma used to make.
- Clove powder – For a subtle, slightly Christmassy note. But really only use sparingly, otherwise it will dominate the taste.
Step-by-step instructions: Make your own grandma’s plum jam in the oven
Prepare plums
- Wash, pit and roughly chop the plums.
- Place in a large ovenproof dish or roasting tin.
- Mix well with sugar, cinnamon and clove powder.
- Cover and leave to infuse for at least 3 hours, preferably overnight.
Preheat the oven & cook the fruit
- Stir the fruit well the next day.
- Preheat the oven to 180 °C or 350°F.
- Place the roasting pan on the middle rack without the lid.
- Place a wooden spoon in the oven door to allow the steam to escape.
Allow to cook patiently
- Cook the jam in the oven for 2 to 3 hours.
- Stir every 30-45 minutes that nothing burns.
- The plum purée is ready when it is dark, thick and spreadable.
Optionally puree & fill in jars
- Puree finely as desired.
- Pour into sterilized jars while still hot, seal well and turn upside down briefly – this creates a vacuum for a longer shelf life.
Alternative preparation: cook grandma’s plum jam on the stove
Prepare plums
- Wash, pit and roughly chop the plums.
- Place in a large pan and mix well with the sugar and spices.
- Cover and leave to infuse for 2-3 hours or overnight.
Heat the fruit and bring to boil
- Slowly bring the plum mixture to boil over medium heat.
- Stir occasionally so that nothing burns.
Simmer
- Reduce the heat and simmer the purée over a low heat for approx. 1.5 to 2 hours.
- Stir regularly – especially towards the end when the puree thickens.
- Depending on the desired consistency, simmer for a little longer.
Optionally puree & season to taste
- If you like the puree very fine, puree it with a blender.
- Season to taste and add a little cinnamon or sugar if necessary.
Pour hot into glasses
- Pour the finished plum jam immediately into sterilized jars.
- Close tightly and turn upside down for a few minutes – this creates a vacuum.
Common mistakes – and how to avoid them
- Too runny? Then the baking time was too short or the fruit was too watery. Simply leave them in the oven for a few more minutes.
- Too sweet or too sour? Use a little more or less sugar next time – every plum or damson is different.
- Burnt? Stir from time to time and use an ovenproof dish – nothing made of thin tin.
Shelf life & preserving tips
Plum jam from the oven can be properly boiled down with sugar and neatly bottled for around 6 to 12 months. Make sure that the jars and lids are sterile. I boil them in hot water for 10 minutes or put them in the oven at 120 °C.
It is best to store the jars in a cool, dark place – a storage cellar or pantry is ideal.
Variants & flavors
If you like to experiment, you can easily modify the recipe:
- With vanilla or cardamom for a wintery, spicy note
- With a shot of rum for adults
- Mixed with apple or pear if you want to use less sugar
- Or classic, pure and fruity – just like grandma used to make
Serving ideas for your Plum Jam
Plum jam is incredibly versatile! You can not only spread it on bread, but also:
- serve with rice pudding, semolina porridge, Kaiserschmarrn or pancakes
- fill into doughnuts, Buchteln, cookies or yeast rolls
- combine as a sweet sauce with game dishes or red cabbage
- spice up your homemade BBQ sauce with plum jam – you won’t regret it
- use as a sauce for your vanilla ice cream – simply dilute slightly with water
- stir into cottage cheese or Greek yogurt as a quick dessert
- or simply nibble straight from the spoon (yes, you can!)
Frequently asked questions about Grandma’s plum jam recipe | FAQ
Better not! Otherwise there is a risk that the plum jam will burn or become unevenly thick.
Yes, that’s no problem. Plums are somewhat more aromatic and firmer, but other types of plums also make a delicious puree.
Properly cooked and filled into sterile jars, it will keep in a cool, dark place for around 6 to 12 months – sometimes even longer.
No, you don’t need that. The sugar in combination with the long cooking time in the oven or on the stove ensures a natural thickening and good shelf life.
This allows the steam to escape and the purée thickens better. I simply stick a wooden spoon between the oven and the door – works great!
Then simply cook it a little longer. You can increase the temperature slightly or leave it on the stove to reduce a little at the end.
Yes, you can freeze it in portions in freezer-safe containers. Just make sure that it has cooled down completely before you put it in the freezer.
If it falls thickly from the spoon and is spreadable, it is ready. A little test: If you draw a trace through the jam with the spoon and it remains visible for a short time, it is ready.
Yes, you can – but it won’t keep that long. In this case, you should definitely freeze it or use it up quickly in the fridge.
Easy Plum Jam Recipe | No Pectin & Oven-Baked
Click stars for rating!Useful kitchen helpers
Ingredients
- 1,5 kg plums
- 250 g granulated sugar
- ½ teaspoon ground cinnamon
- ¼ teaspoon ground cloves
Instructions
Stove top method
- Wash the plums, cut in half, remove the pits and place in a roasting pan or casserole.
- Sprinkle the plums with the sugar and leave to infuse for a few hours, preferably overnight.
- Add the spices and bring the mixture to boil. Cook over a low heat for approx. 2 hours to create a nice thick purée. Stir from time to time.
- If necessary, finely puree the plum puree in a blender or hand blender. Skip this step if you want your plum puree to be chunky.
- Fill the plum jam into clean jars and close tightly with the screw cap.
Oven method
- See stove top method step 1
- See stove top method step 2
- Add the spices and mix everything well. Then place the roasting tin in the oven (middle shelf) and cook at 160°C for approx. 2 to 3 hours until the mixture thickens. Stir every half hour. The oven door should be left ajar to allow the steam to escape (insert a wooden spoon into the oven door).
- See stove top method step 4
- See stove top method step 5
Notes
Nutrition
These figures are guidelines and were calculated using a recipe calculator.